CASASCAPES ROCK BOND
KEEPS STONES IN PLACE
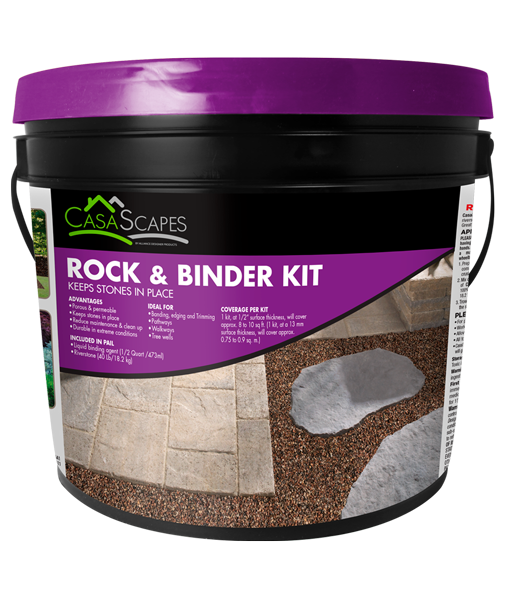
CasaScapes Rock Bond is a one component binder, that mixed with riverstone creates a durable permeable and decorative surface. Great for garden pathways where erosion and drainage is a concern.
Advantages
- Porous & permeable.
- Keeps stones in place
- Reduce maintenance & clean up.
- Durable in extreme conditions.
Ideal For
- Banding, edging and trimming.
- Pathways
- Walkways
- Tree wells
Included in Pail
- Liquid Binding agent (500ml)
- Riverstone (15.9 kg / 35 lb)
Coverage
1/2” Thickness will cover approx. 15 sq. ft. (1.4 sq. m.)
APPLICATION
See videos for visual installation. Always refer to the latest CasaScapes Rock Bond
Technical Data Sheet (TDS) at CasaScapes.com before installation.
Install stones on a drainage base system.
Make sure the stone’s top surface is dry.
FOR NATURAL STONES: Using a hard-bristle, heavy-duty construction broom, sweep Stone Dust in between the natural stone joints.
FOR WETCAST STONES: Using a scoop, carefully pour Stone Dust in between the joints and avoid getting any Stone Dust on the stone surface.
Hit the stones with a rubber mallet; this will make the Stone Dust settle firmly into the joints by removing the air pockets. Repeat step 2 and this step 3 at least two more times.
Using a soft, fine-bristle broom, sweep all excess Stone Dust off stone surfaces. Insure that Stone Dust lies at least 1/8 inch (3 mm) below the top of the stones.
Using a leaf blower, blow away all Stone Dust residue lying on the stone surface. Depending on the physical layout present, it may be more appropriate to remove residue by using a vacuum unit.
First watering phase: At a height of 4 feet (1.2 m), use a water gun connected to a hose to direct a fine mist (setting of water gun: “mist” or equivalent) of water on a certain stone area for 10 to 15 seconds. Wait 3 to 4 minutes (not longer). Proceed to Second watering phase.
Second watering phase: From a height of 2 feet (.60 m), aim the water mist directly at the stone surface. Mist and rinse simultaneously so as to eliminate any Stone Dust residue left on the stones. The Stone Dust residue should go directly into the stone joints. Wait 3 to 4 minutes (not longer). Proceed to Third watering phase.
Third watering phase: From a height of 2 feet (.60 m), aim the water mist again directly at the stone surface. Again, mist and rinse simultaneously so as to eliminate any Stone Dust residue left on the stones. The Stone Dust residue should go directly into the stone joints. However, stop misting (ALERT) when you see a minimal amount of water retention on the stone joints.
NOTE: Repeat the directions of step 6 for all other areas that have not been misted with water.
Use a leaf blower to remove all excess surface water lying on stone pores and crevices. This blowing action is necessary to help remove any remaining Stone Dust residue left on stone surface from the previous steps. Depending on the physical layout present, it may be more appropriate to remove remaining residue with a vacuum unit.
PLEASE NOTE
Stone Dust becomes very firm but will crack if the crushed stone base has movement. By following the installation instructions carefully, you will obtain a very hard jointing material. It should be noted that Stone Dust will continue to harden over time. Do not apply on wet or damp surfaces, since bonding action will cause Stone Dust to stick onto the surface instead of sliding properly into the joints. Do not use if rain is expected within 24 hours. Avoid excessive watering or flooding of stone areas. When installing natural stones around an underground pool, a slope of 1/8 inch per linear foot away from the pool is mandatory. All natural stone surfaces must have a drainage slope for Stone Dust to work optimally. For the pool coping units, it is mandatory to use mortar in the joints. For the rest of the stone installation around the pool, you can use Stone Dust. Do not sweep Stone Dust over asphalt.
IMPORTANT
The water used in step 6 will activate a bonding action as well as condense Stone Dust in the joints. Too much water will undo the dense compaction obtained during step 3 and reduce the final performance of Stone Dust. If steps 4, 5, 6 and 8 are not done properly, a white haze may appear on stone surfaces following installation. This is due to excess Stone Dust residue left on the stone surface. This haze will dissipate over time. It can also be removed by using a concrete efflorescence cleaner.